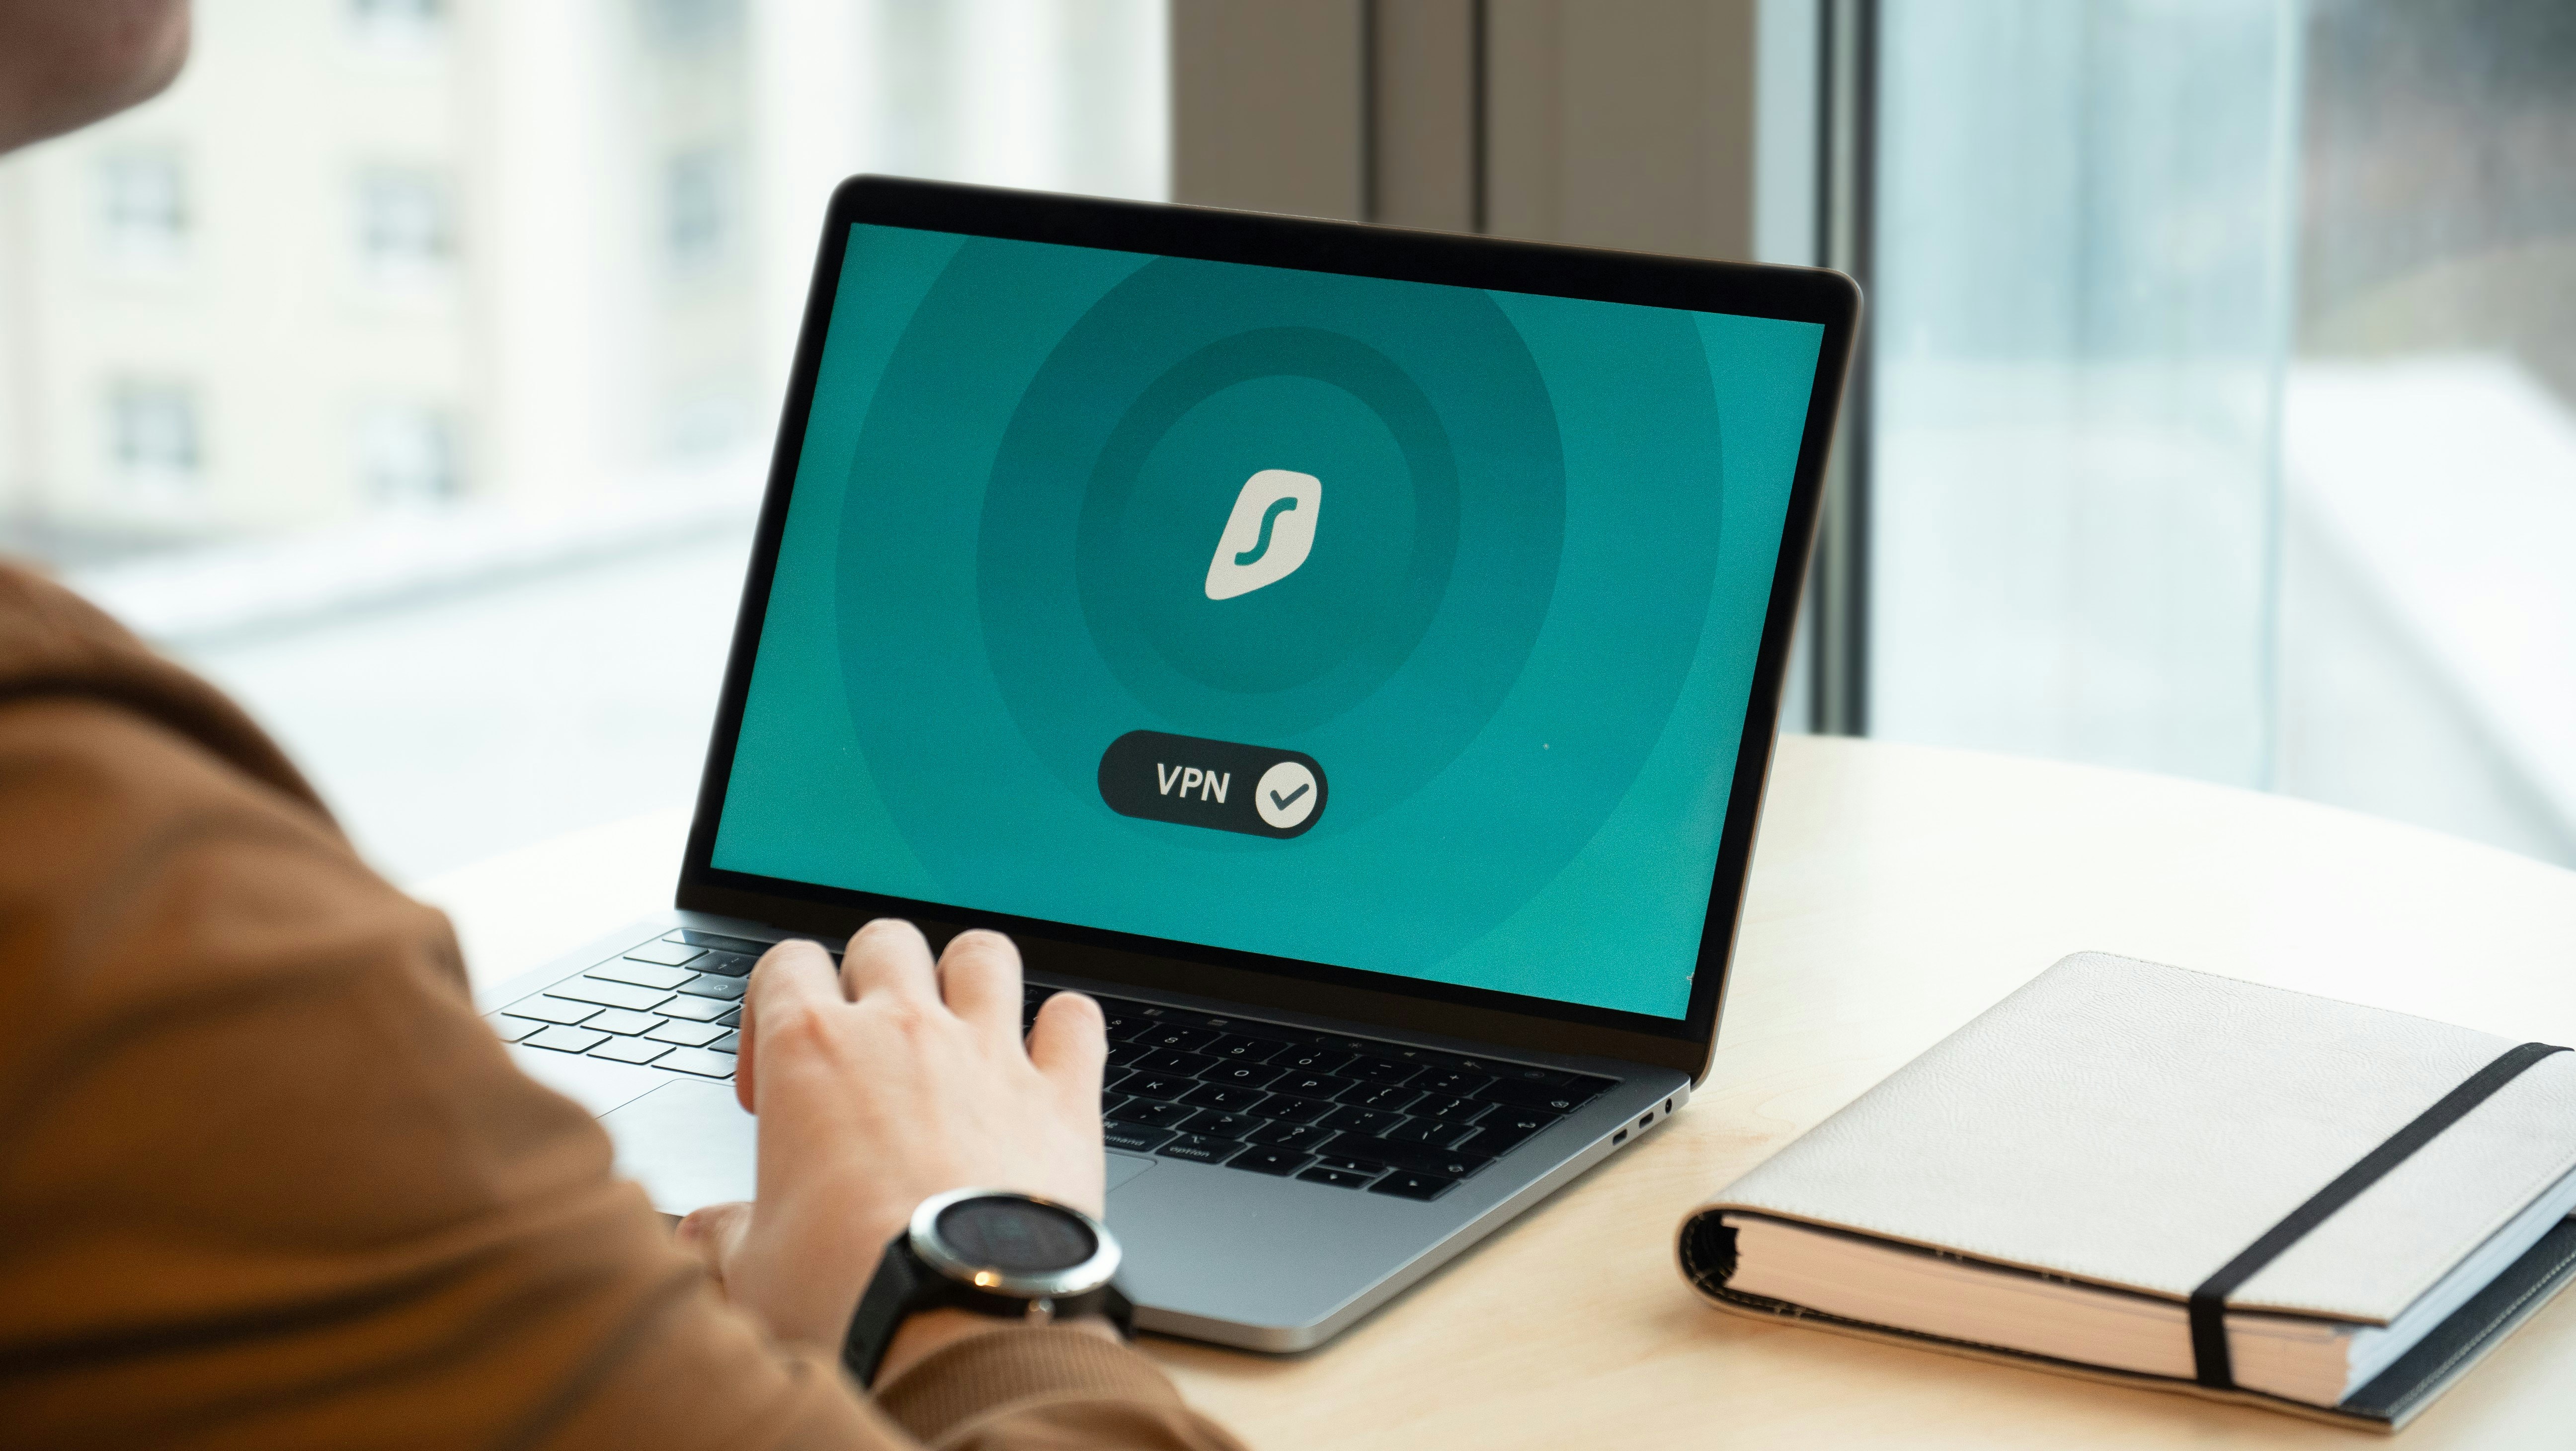
Download and install NordLayer VPN
In the modern, distributed workforce, securing your company's network is not just a best practice—it's a necessity. NordLayer VPN provides a robust, user-friendly solution for businesses to protect their data and provide secure access to corporate resources. This comprehensive guide will walk you through the entire process of downloading and installing the NordLayer VPN client on all major platforms. Our goal is to make this process as clear and straightforward as possible, ensuring that every member of your team, regardless of their technical proficiency, can get set up and secured in no time. Following these steps will help you establish a secure baseline for your organization's remote access strategy.
Understanding the Importance of a Secure Download Source
Before you begin, it is absolutely critical to understand the importance of downloading software from official sources. Cybercriminals often create convincing-looking fake websites to distribute malicious software disguised as legitimate applications. This is a common tactic used to gain unauthorized access to networks. Therefore, always ensure you are downloading the NordLayer VPN client directly from the official NordLayer website, the Apple App Store, or the Google Play Store. Your IT administrator may also provide you with a direct link to a secure download portal. By adhering to this simple rule, you eliminate one of the most significant risks associated with software installation. This guide assumes you are starting from a secure, official source.
Step-by-Step Guide for Windows Installation
Microsoft Windows is the most common operating system in the corporate world, and installing NordLayer VPN on it is a seamless process.
- Download the Installer: Navigate to the official NordLayer download page and click the download link for Windows. This will download an executable file, typically named `NordLayer-Setup.exe`.
- Run the Installer: Locate the downloaded file in your 'Downloads' folder and double-click it. The Windows User Account Control (UAC) will likely pop up, asking for permission to make changes to your device. This is a standard security measure. Click "Yes" to proceed.
- Follow the Setup Wizard: The NordLayer setup wizard will now guide you through the installation. You will be asked to accept the End-User License Agreement (EULA). After reviewing the terms, accept them and click "Next." You will also be given the option to choose the installation folder. For most users, the default location is perfectly fine.
- Complete the Installation: Click the "Install" button. The wizard will now copy the necessary files to your system. Once it's finished, you'll see a confirmation screen. Ensure the "Launch NordLayer" box is checked and click "Finish." The NordLayer VPN application will launch automatically.
Step-by-Step Guide for macOS Installation
Installing NordLayer VPN on a Mac is just as easy, following the standard macOS application installation process.
- Download the Disk Image: From the official NordLayer website, download the client for macOS. This will be a `.dmg` file.
- Mount the Image: Find the downloaded `.dmg` file in your 'Downloads' folder and double-click it. This will "mount" the disk image and open a new window in Finder.
- Install the Application: Inside this new window, you will typically see the NordLayer application icon and a shortcut to your 'Applications' folder. Simply click and drag the NordLayer icon and drop it onto the 'Applications' folder shortcut. macOS will then copy the application to the correct directory.
- Authorize and Launch: You may be prompted to enter your Mac's administrator password to authorize the installation. After it's copied, you can eject the mounted disk image and delete the original `.dmg` file. The NordLayer VPN client is now installed. You can launch it from your 'Applications' folder or via Launchpad.
Step-by-Step Guide for Mobile Devices (iOS and Android)
Securing your mobile workforce is crucial. NordLayer provides dedicated apps for both iOS and Android, available on their respective official app stores.
- Open the App Store: On your iPhone or iPad, open the Apple App Store. On your Android device, open the Google Play Store.
- Search for NordLayer: Use the search bar to find the official "NordLayer" application. Be sure to select the app published by "Nord Security."
- Download and Install: Tap "Get" or "Install." Your device may ask for your Apple ID password, Face ID/Touch ID, or Google account password to authorize the download. The app will then download and install automatically.
- Launch and Log In: Once installed, you can open the app directly from the store or find its icon on your home screen. The login process is identical to the desktop versions.
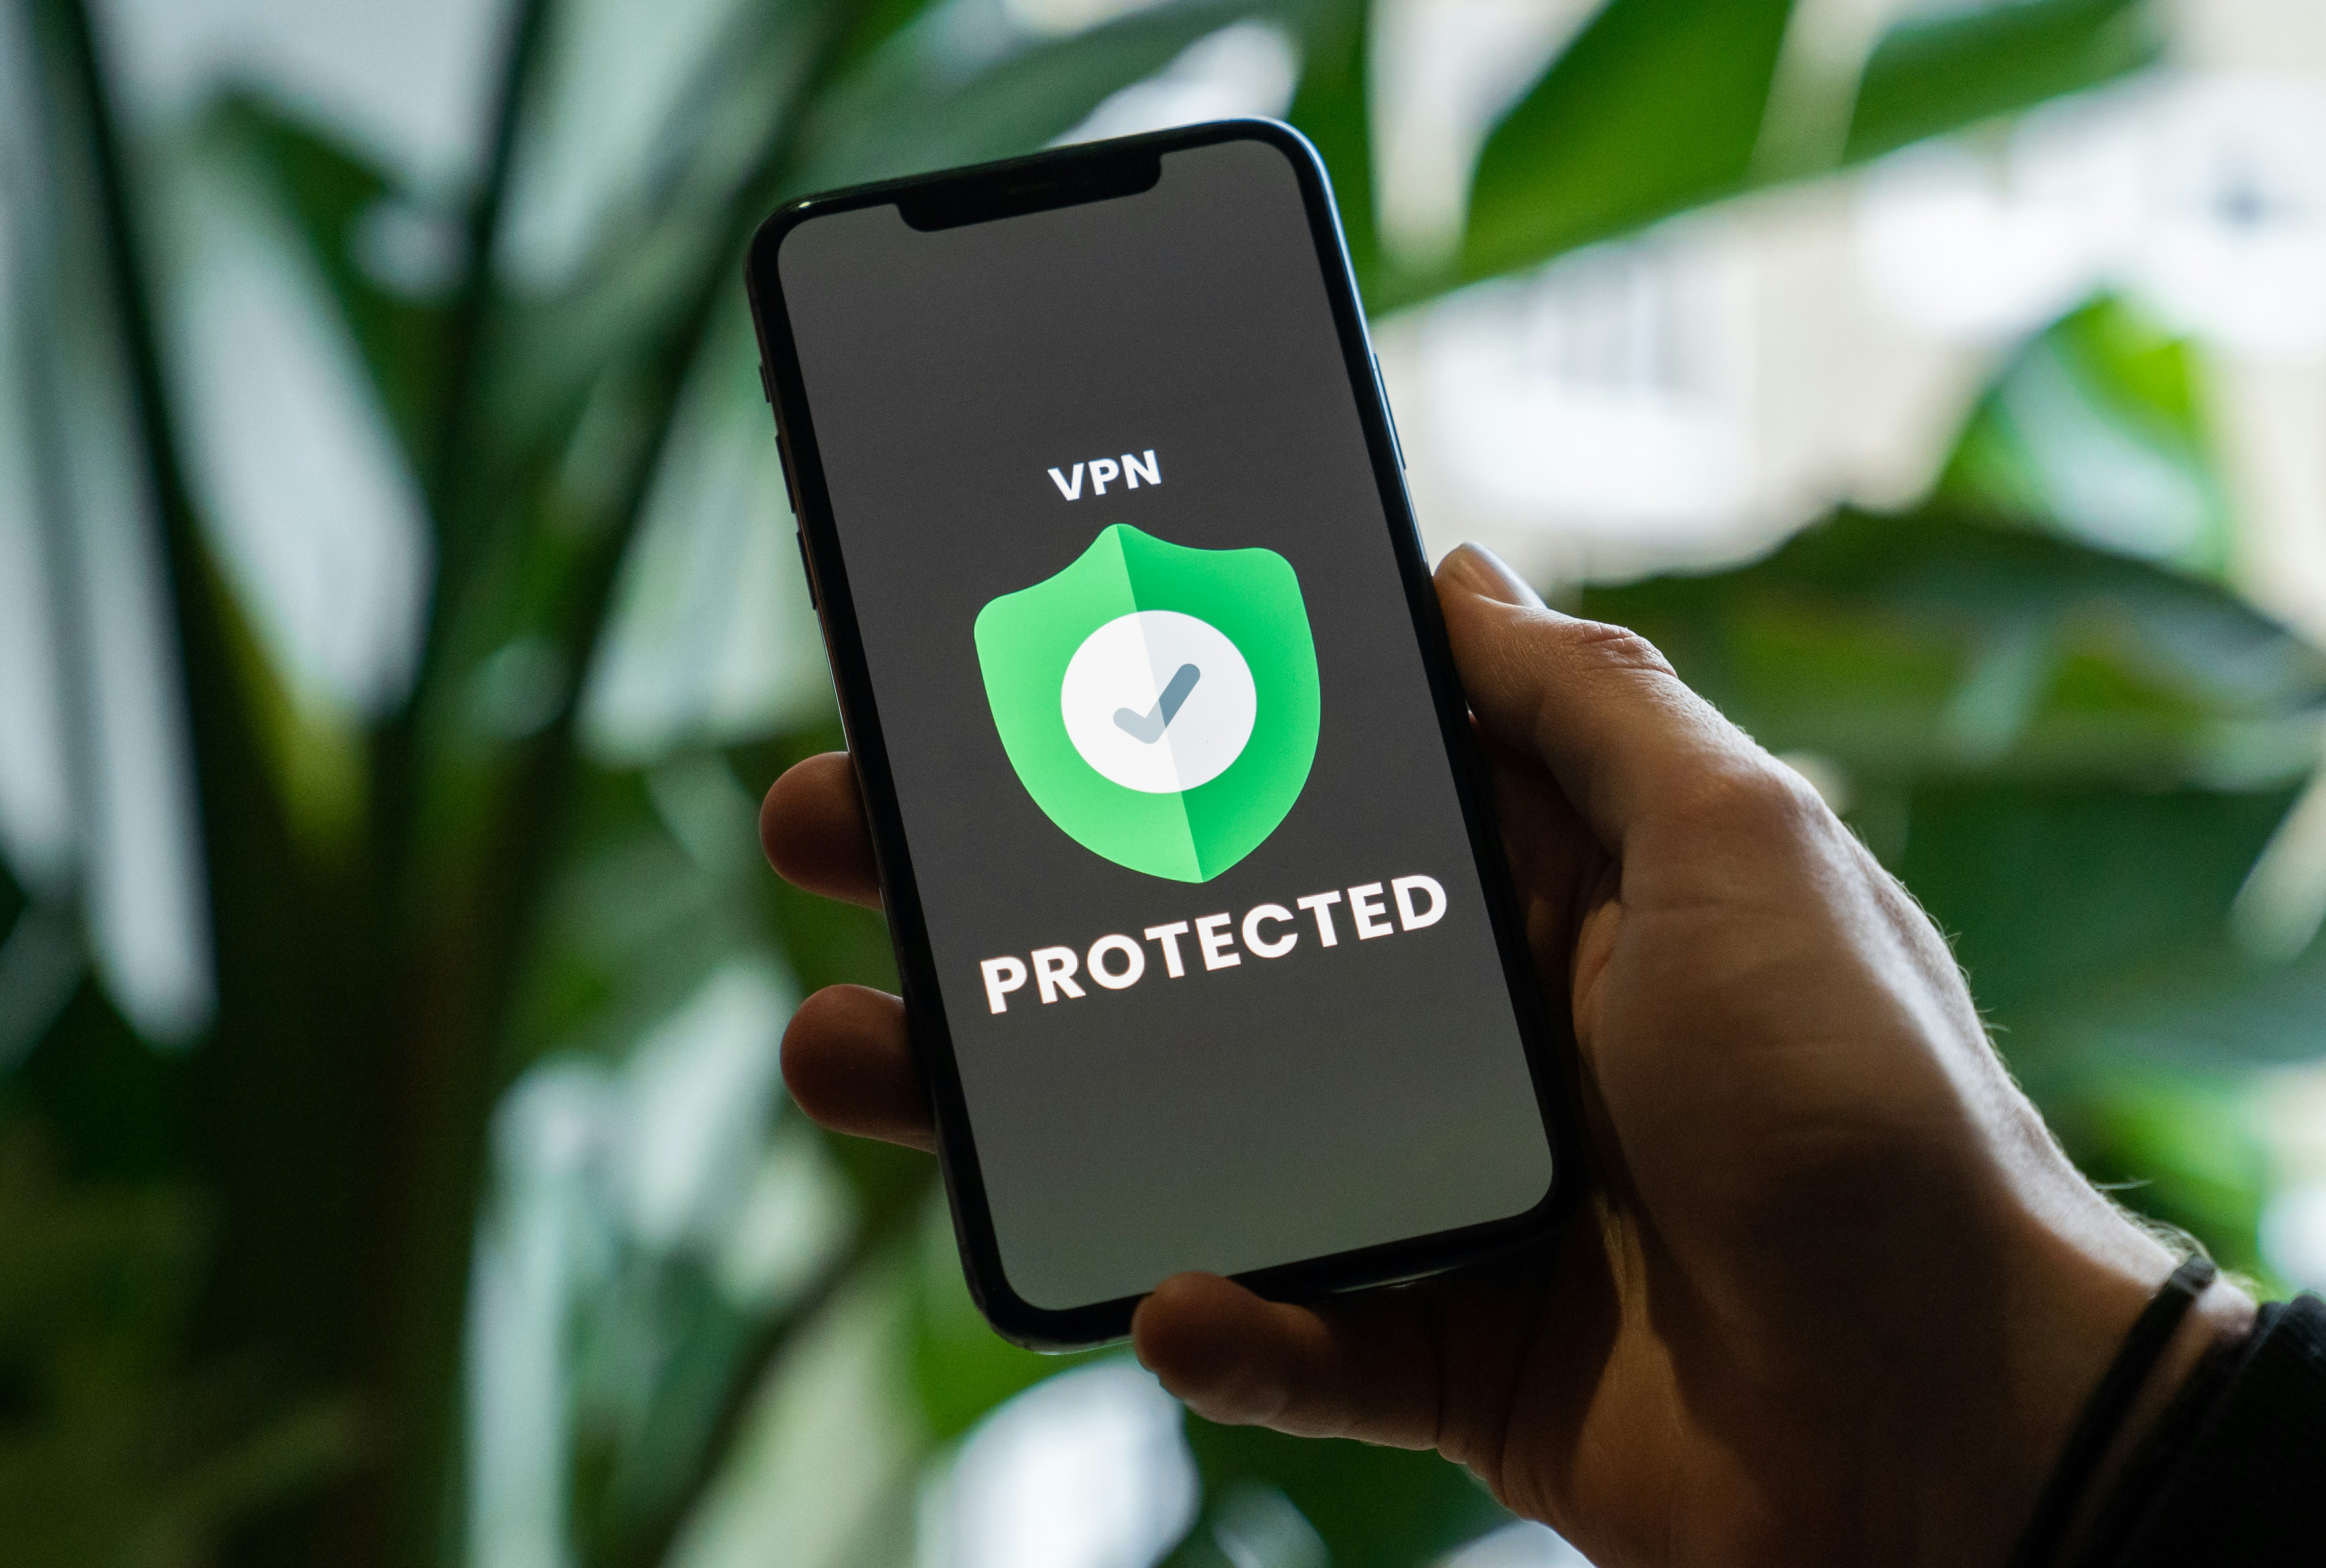
First-Time Login and Authentication
Regardless of your platform, the final step is to log in and authenticate. When you first launch the NordLayer VPN application, you will be greeted by a login screen. You will need three pieces of information, which should be provided by your IT administrator:
- Organization ID: This is a unique identifier for your company.
- Username: This is typically your work email address.
- Password: The password associated with your work account.